Netatmo Weather Station Review
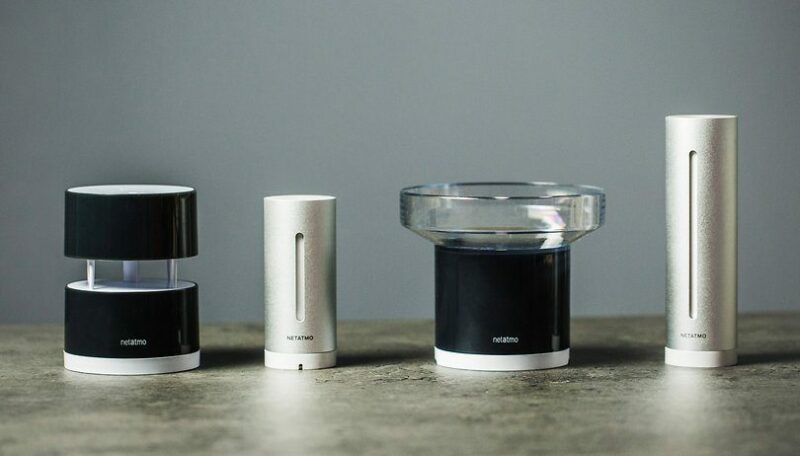
My Weather Station of Choice for Durham Weather I’ve been using the stylish NetAtmo Weather Station for about 2 years now so I’ve given it a good test. Within that time, i’ve had a few teething problems, but these are almost inevitable with Weather Stations and the more different types you use, the more you realise they all have their own quirks. …